Expert Skin Care in Singapore
Personalised Skin & Beauty Solutions
Beauty Treatments for Radiant Results
- Home
- Treatments
- CurveLift Sculpting Treatment Singapore
- Non-Surgical Body Contouring Treatment Singapore
- PurifyScalp Detox Treatment Singapore
- All-Inclusive Glow-Up Treatment in Singapore
- Tone & Body Sculpting Treatment Singapore
- Brightening Face Treatment Singapore
- Cryotherapy Skin Repair Treatment Singapore
- Diamonte Anti-Aging Treatment Singapore
- Hair Rejuvenation Treatment Singapore
- Korean Baby Face Therapy Singapore
- Neck & Jaw Lifting Singapore
- Precision Pore Tightening Treatment Singapore
- Rejuve-Lift Eye Treatment Singapore
- RevitaGrow Hair Regrowth Treatment Singapore
- Products
- Gallery
- Our Story
- Blog
- Contact Us
- Aesthetic Clinic in Singapore
- Our Story
- Aesthetic Treatments in Singapore
- PurifyScalp Detox Treatment Singapore
- Non-Surgical Body Contouring Treatment Singapore
- All-Inclusive Glow-Up Treatment in Singapore
- Tone & Body Sculpting Treatment
- Brightening Face Treatment Singapore
- Cryotherapy Skin Repair Treatment Singapore
- Diamonte Anti-Aging Treatment Singapore
- Hair Rejuvenation Treatment Singapore
- Korean Baby Face Therapy Singapore
- Neck & Jaw Lifting Singapore
- Precision Pore Tightening Treatment Singapore
- Rejuve-Lift Eye Treatment Singapore
- CurveLift Sculpting Treatment Singapore
- RevitaGrow Hair Regrowth Treatment Singapore
- Products
- Treatment Booking
- Gallery
- Blog
- Contact Us
- Call Us
BlogSkin Brightening TreatmentHow to Give Yourself a Perfect Facial at Home, According to Skin Experts

Ever look in the mirror and feel like your skin looks a little tired? In Singapore, the heat, humidity, air-conditioning, and daily pollution can leave your skin looking dull or congested. Some days your skin may feel oily, while on others it may feel dry, and sometimes both at the same time.
A lot of people think you need to visit a clinic to fix that. But you don’t always have to. A good DIY facial done at home, when you follow the right steps in the right order, can make a real difference to how your skin looks and feels.
At our aesthetic clinic in Singapore, one of the most common things we hear from clients is that they have been applying their skincare products in the wrong order or skipping steps that actually matter. That’s usually why their results feel hit-or-miss. Get the order right, and everything works so much better.
Here’s the at-home facial routine our team recommends: simple, effective, and easy to fit into your week.
How to Do a Facial at Home: Step-by-Step Guide
Step 1: Double Cleanse
Start with an oil-based cleanser to remove sunscreen, makeup, and excess sebum. Oil cleansers break down these substances more effectively than regular cleansers.
Massage the cleanser onto dry skin using slow, gentle circular motions, focusing on areas where buildup is common, such as the sides of the nose, hairline, and chin.
Rinse with lukewarm water, then follow with a water-based cleanser to remove any remaining residue. Pat your skin dry with a clean towel. Avoid rubbing or using hot water, as it can disrupt the skin’s natural moisture barrier.
Step 2: Apply Toner
Toner removes the last traces of cleanser, restores the skin’s pH balance, and prepares your skin to absorb the products that follow.
Apply toner using a cotton pad or gently press it into the skin with clean hands. Pressing instead of wiping helps minimise irritation and allows the product to absorb better.
Step 3: Steam Your Face
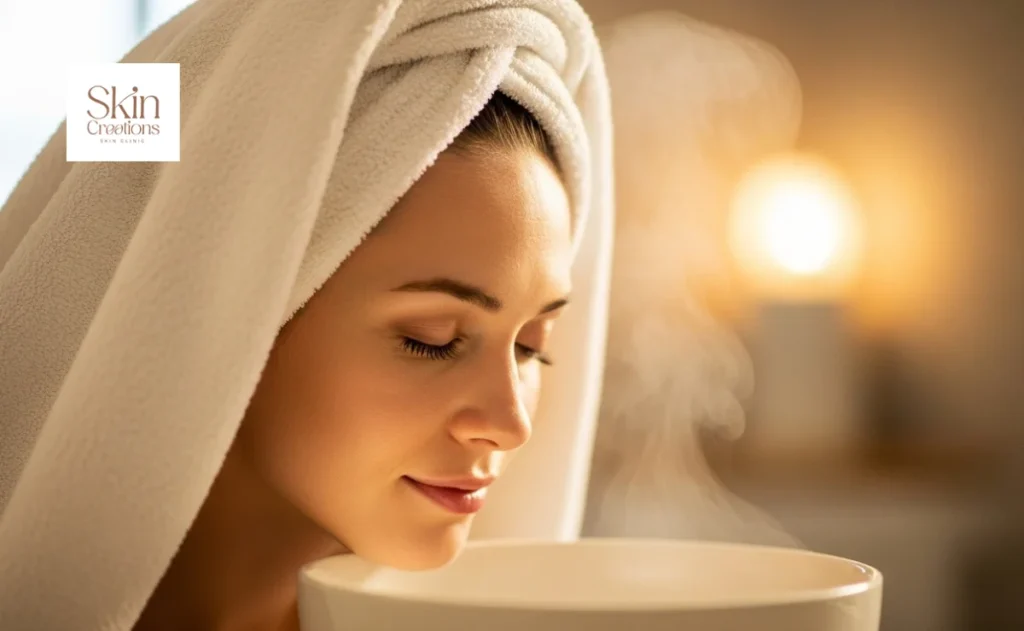
aFacial steaming softens the skin and loosens debris inside pores, making the next steps more effective.
Fill a bowl with hot (not boiling) water, lean over it, and cover your head with a towel to trap the steam. Allow the steam to reach your face for 5–8 minutes.
If you have sensitive skin, keep more distance from the water or shorten the time. You can also use a warm, damp towel placed gently over the face as an alternative. On the flip side, if puffiness or dullness is your main concern, a professional cryotherapy facial uses controlled cold instead of heat to get a similar refreshed effect.
Step 4: Exfoliate
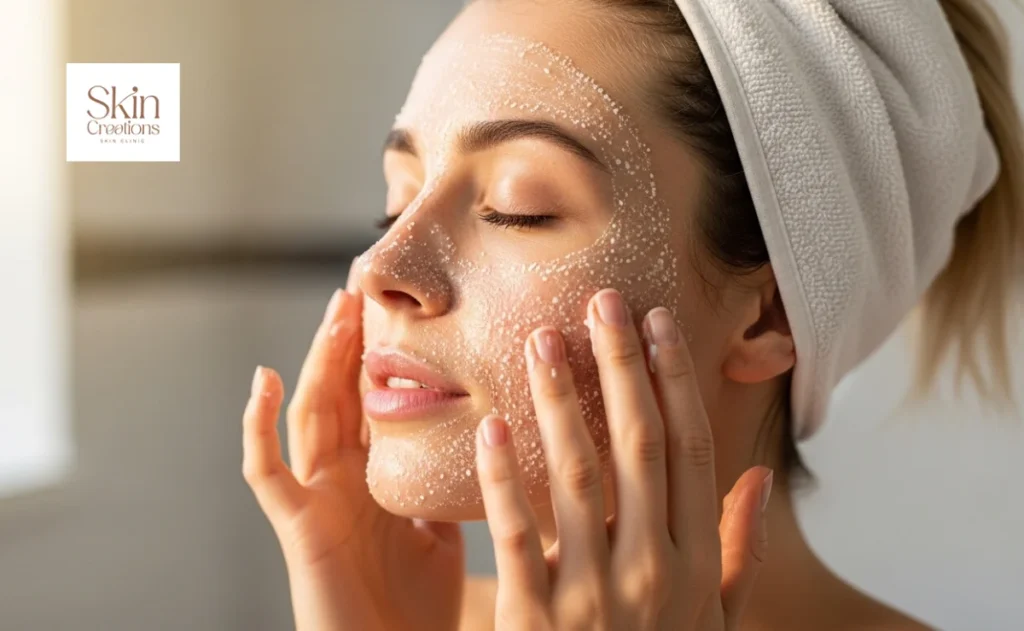
Exfoliation removes dead skin cells, revealing smoother and brighter skin.
For most skin types, chemical exfoliants work best:
- AHAs (glycolic or lactic acid): help brighten and smooth skin texture
- BHAs (salicylic acid): penetrate deeper into pores, making them ideal for oily or acne-prone skin
- Enzyme exfoliants (papaya or pumpkin): gentler options suitable for sensitive skin
If you prefer a physical scrub, make sure the particles are fine and smooth, as rough particles can cause micro-tears in the skin.
Apply to slightly damp skin and massage gently for 30–60 seconds, then rinse thoroughly.
Step 5: Avoid Extracting Blackheads at Home
After steaming and exfoliating, it may be tempting to squeeze blackheads or clogged pores. However, manual extraction at home is not recommended.
Improper squeezing can cause irritation, broken capillaries, scarring, or push bacteria deeper into the skin. If congestion is persistent, professional extraction performed by a licensed aesthetician or dermatologist is a safer option.
Step 6: Apply a Face Mask
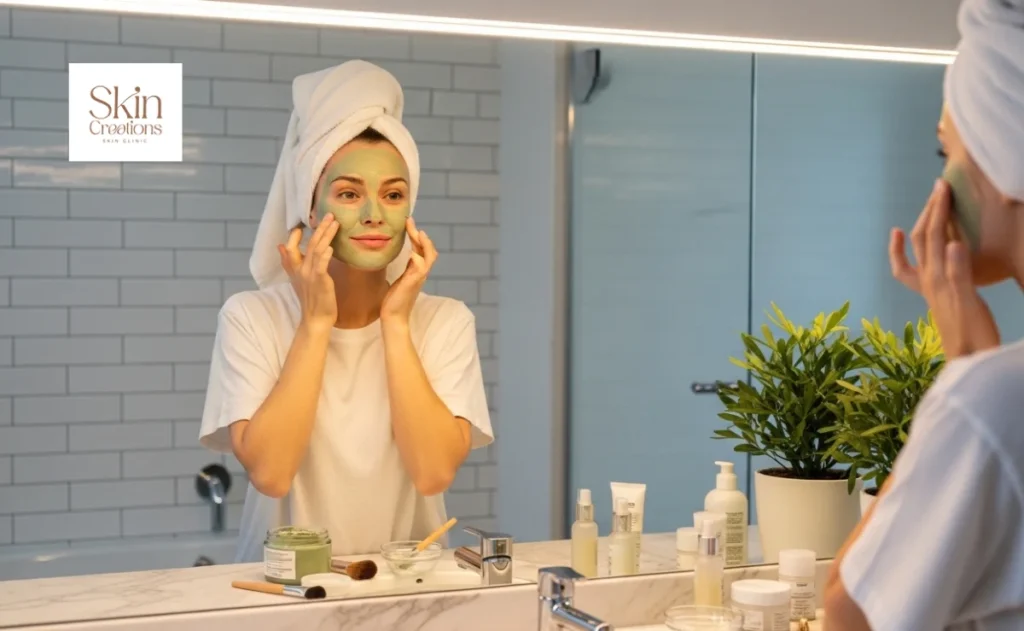
Now your skin is ready to absorb treatment products. Choose a mask based on your skin’s needs:
- Clay masks: ideal for oily or congested skin; they absorb excess oil and impurities
- Hydrating masks: best for dry or dull skin; they replenish moisture and improve softness
- Multi-masking: apply clay on the T-zone and a hydrating mask on drier areas
Apply an even layer, avoiding the eye and lip areas, and leave it on for 10–15 minutes.
If using a clay mask, remove it before it fully dries to prevent excessive moisture loss.
Step 7: Facial Massage
A short facial massage helps boost circulation, reduce puffiness, and enhance your skin’s natural glow.
Apply a small amount of facial oil or serum so your fingers glide smoothly. Use gentle upward strokes along the jawline, cheeks, temples, and forehead.
Spend a little extra time around areas that tend to hold tension, such as the sides of the nose and under the cheekbones. Two to three minutes is usually enough.
Step 8: Apply Serum and Eye Cream
At this stage, your skin is primed to absorb targeted treatments.
Choose a serum based on your main concern:
- Vitamin C: brightening and antioxidant protection
- Hyaluronic acid: deep hydration
- Niacinamide: helps with redness, texture, and oil balance
Gently press the serum into the skin rather than rubbing it.
Follow with an eye cream, lightly tapping it around the orbital bone using your ring finger, which applies the least pressure to this delicate area.
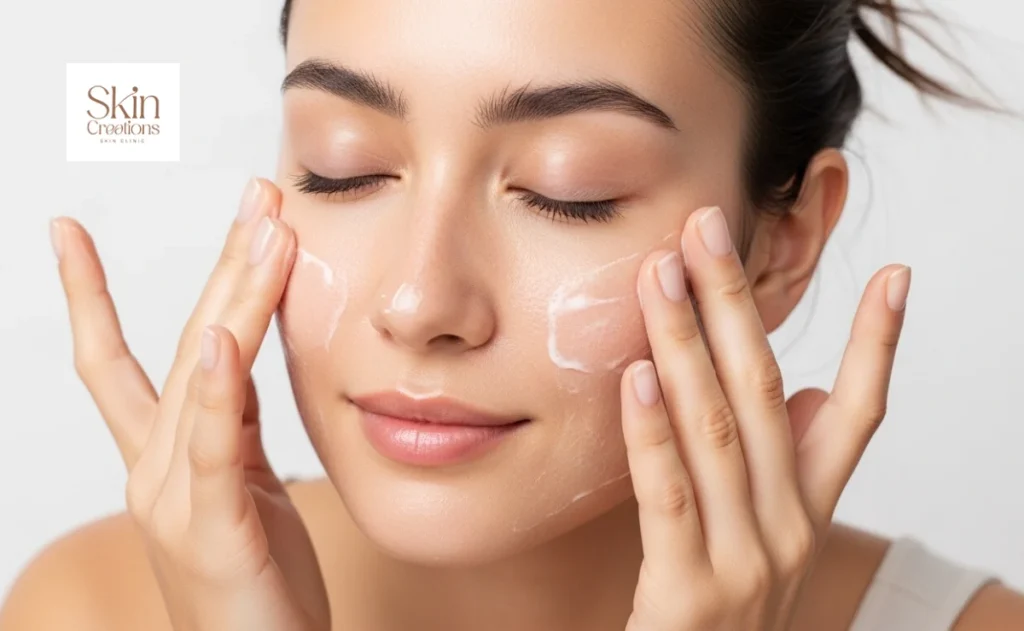
Step 9: Moisturise and Protect

Finish your facial by applying a moisturiser to lock in hydration and support the skin barrier.
For daytime, choose a lightweight moisturiser and always follow with a broad-spectrum sunscreen like our Collagen UV Sunscreen, as UV rays can penetrate windows and damage the skin.
For evening routines, a richer cream or overnight mask can help support the skin’s natural repair process while you sleep.
Setting the Mood for a Spa-Like Experience at Home
Before starting your home facial, take a moment to prepare your space. A calm, relaxing environment not only feels luxurious but also helps your skin respond better. Stress tightens facial muscles and slows circulation.
Dim the lights or use soft lighting to create a peaceful mood. Play gentle music or nature sounds to help you unwind, and add subtle scents with a candle, diffuser, or herbal tea without overwhelming your senses.
Set aside 30 to 45 minutes of uninterrupted time to focus fully on your facial. Clearing your countertop or bathroom creates a visually calm space, helping you feel more at ease.
These simple steps can transform your home facial into a relaxing, spa-like ritual that benefits both your skin and mind.
Expert Tips to Get the Best Results from Your Home Facial
- Patch test new products first. Before applying a new skincare product to your face, test a small amount on the inside of your wrist or behind your ear and wait 24 hours. This helps prevent irritation or allergic reactions on sensitive facial skin.
- Stay consistent with your skincare routine. Small habits done regularly often work better than occasional intensive treatments. Even using a sheet mask, applying serum before bed, or doing a quick facial massage can help maintain healthy skin between full facial routines.
- Pay attention to how your skin reacts. Everyone’s skin is different. Notice how your skin feels after trying new products or techniques so you can adjust your routine accordingly.
- Keep your skincare tools clean. Towels, bowls, facial tools, and even your hands should be clean before starting a facial. This helps prevent bacteria from transferring to freshly cleansed skin.
- Track what works for your skin. Keeping a simple skincare journal can help you notice patterns over time. Write down the products you use and how your skin responds so you can identify ingredients that work best for you.
Conclusion
Taking care of your skin at home doesn’t have to be complicated. When you follow the right steps and pay attention to what your skin actually needs, the results show up, your skin looks better, and you feel better, too.
That said, a home routine has its limits. If you’re dealing with something persistent, stubborn congestion, uneven skin tone, or dullness that just won’t shift, it’s worth getting a professional opinion. Sometimes skin needs a little more than what a good mask and serum can offer, and that’s completely normal. Not sure how often you should still see a professional alongside your home routine? Our guide breaks down the ideal frequency for your skin type.
Got skin concerns that need more than a home routine? Contact our team, and we will help you figure out the next step.
FAQs
1. Which areas of the face need the most attention during a home facial?
While your whole face benefits, the nose, chin, and forehead collect the most buildup and are prone to congestion. Don’t forget the eye area; applying a small amount of eye cream regularly can make a noticeable difference over time.
2. What should I do after a facial?
After a facial, your skin may be more sensitive and better able to absorb products. Keep it gentle: avoid harsh scrubs, hot water, or direct sun exposure for the rest of the day. Stick to a simple routine, cleanser, toner, serum, and moisturiser, and always use sunscreen during the day. Drinking water and staying hydrated also helps your skin recover and maintain its glow.
3. What do facials do?
Facials help cleanse, exfoliate, and hydrate your skin, improving circulation and promoting a healthy glow. They can also target specific concerns like dullness, oiliness, or uneven texture, depending on the products and techniques used. Regular facials support your skin’s overall health and help maintain a refreshed, radiant appearance.
4. How often should I do a home facial?
For most skin types, once a week is ideal. Sensitive skin can do it every 10 days. On other days, even a quick mask or two-minute facial massage helps maintain healthy skin without overdoing it.
5. Are facial tools necessary?
No, your hands work just as well. Tools like jade rollers or gua sha are optional. The most important part is gentle, upward strokes and consistent technique. Always clean any tools before use to prevent bacterial transfer.
Recent Posts
Contact Details
Contact Details